Taking a hidden face blurry aesthetic mirror selfie can be a real challenge. You want that perfect blend of blur and beauty, but it often feels like you’re missing something. I’ve been there, and trust me, it’s frustrating.
But don’t worry, I’ve got your back. This guide is all about helping you nail that shot. We’ll dive into the tips and tricks, and by the end, you’ll be snapping those selfies like a pro.
Let’s get started.
Understanding the Hidden Face Blurry Aesthetic
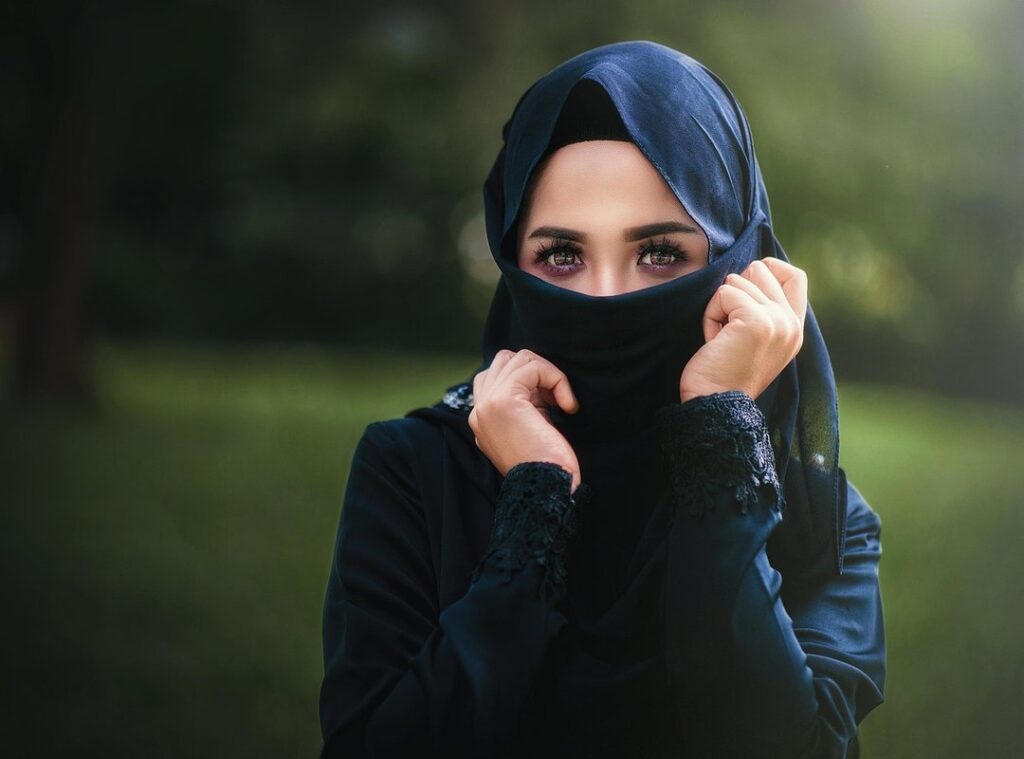
What is a hidden face blurry aesthetic mirror selfie? It’s a style where the subject’s face is obscured, often by blur or other elements, creating a mysterious and intriguing look.
Why is this style so popular? It adds a layer of mystery and allure to your photos. On social media, it can make your posts stand out, drawing more attention and engagement.
The key elements that make up a successful hidden face blurry aesthetic include:
- Blur: The right amount of blur can create a dreamy, almost ethereal effect.
- Composition: How you frame the shot matters. Think about the angles and how much of the face is shown.
- Lighting: Soft, diffused lighting works best. It adds to the overall mood and enhances the blur.
By mastering these elements, you can create a unique and captivating image. And here’s a pro tip: experiment with different backgrounds and props to add more depth and interest to your photos.
Choosing the Right Equipment
When it comes to camera options, you’ve got a couple of choices: smartphones or DSLR cameras. Smartphones are super convenient and always with you, making them great for spontaneous shots.
But if you’re looking for more control and higher quality, a DSLR is the way to go. The benefits? Better image quality and more flexibility in settings.
Lens selection can make or break your photos. Different lenses can completely change the look and feel of your final result. A wide-angle lens, for example, can capture more of the scene, while a telephoto lens lets you zoom in on distant subjects.
Choosing the right lens means you can get the exact shot you want, whether it’s a sweeping landscape or a close-up detail.
Tripods and stabilizers are essential for keeping your camera steady. A shaky camera can ruin even the best-composed shot.
Using a tripod ensures your photos are sharp and clear, especially in low light. Plus, it lets you take long exposures and time-lapse shots without any blur.
And hey, if you’re into that hidden face blurry aesthetic mirror selfie, a stable setup will make sure the rest of the photo is crisp and clear.
Setting Up Your Shot
Finding the right location is key. You want a spot that complements your style and vibe. Tip: Look for a place with a clean, uncluttered background.
It can be a plain wall or a neat corner in your room.
Back in 2019 when I first started experimenting, I spent hours trying different spots. Some worked, some didn’t. But it was worth it.
Lighting makes or breaks your shot. Natural light is your best friend. Find a window with soft, diffused light.
If you’re using artificial light, make sure it’s not too harsh. A ring light can work wonders.
Composition is everything. Arrange yourself and the background for the best visual effect. Think about the rule of thirds.
Place yourself off-center to create a more dynamic image.
Pro Tip: Use a hidden face blurry aesthetic mirror selfie. It adds a touch of mystery and intrigue.
Remember, practice makes perfect. Don’t be afraid to take multiple shots and experiment.
Achieving the Blur Effect

Manual focus is a great way to blur the face. You just turn the focus ring on your lens until the face gets that soft, out-of-focus look. It’s all about precision and control. Jexpgames
Depth of field, on the other hand, uses the camera’s aperture to create the blur. A wider aperture (lower f-number) gives you a shallower depth of field, making the background—or in this case, the face—blurry. This method is more about setting up the shot right from the start.
- Manual Focus: Adjust the focus ring for precise blurring.
- Depth of Field: Use a wide aperture to naturally blur the background or face.
Post-processing is where editing apps come in. These tools let you add or enhance the blur effect after you’ve taken the photo. Apps like Snapseed or VSCO offer easy-to-use blur features.
But which one should you choose? Manual focus gives you direct control but can be tricky if you’re new to it. Depth of field is more about setup and less about post-shoot adjustments.
Post-processing is the easiest for beginners but might not give the same natural look as the other methods.
In the end, it depends on what you’re comfortable with. If you want that hidden face blurry aesthetic mirror selfie, try all three and see which one works best for you.
Posing and Expression
Body language is everything. When you stand in front of the mirror, it’s not just about looking good—it’s about feeling confident. I’ve seen too many people tense up, and it shows.
RELAX. Take a deep breath. Let your shoulders drop.
Now, for the pose. Keep it simple. No need to overthink it.
Just find a stance that feels natural. Maybe one hand on your hip, or a slight lean. The key is to avoid stiffness.
Pro tip: Practice in front of a hidden face blurry aesthetic mirror selfie. It helps you focus on your body without getting distracted by your facial expression.
Expression is another story. Even with a hidden face, your eyes and mouth can convey a lot. The trick?
Think happy thoughts. Literally. A genuine smile can transform your entire vibe.
But what if you’re not feeling it? That’s okay. You don’t have to force a grin.
A soft, relaxed look works wonders. Just make sure your jaw isn’t clenched and your eyes aren’t squinting.
Remember, the goal is to look and feel authentic. Don’t try to be someone you’re not. Be yourself, and let that shine through.
Editing and Final Touches
Basic editing is where you start. Adjust the brightness, contrast, and saturation to make your photo pop. It’s like giving your image a little boost.
Now, let’s move on to advanced techniques. Using filters and effects can really enhance the overall aesthetic. Play around with different filters to see what works best for your photo.
Pro tip: A hidden face blurry aesthetic mirror selfie can add a unique and artistic touch. Give it a try and see how it transforms your image.
Perfecting Your Hidden Face Blurry Aesthetic Mirror Selfie
To create a hidden face blurry aesthetic mirror selfie, start by adjusting your camera settings to achieve the right blur. Position yourself in front of the mirror, ensuring that only parts of your body or surroundings are in focus. Experiment with different angles and lighting to add depth and mood to your photo.
Play with the distance between you and the mirror, and the camera and the mirror. This can significantly change the look and feel of your image. Use props or interesting backgrounds to enhance the overall composition.
The key to mastering this technique is practice and experimentation. Don’t be afraid to try new things and make adjustments until you get the desired effect.
Once you’ve captured the perfect shot, share it with others and keep exploring other creative photography techniques.
 Bringing a fiery passion and analytical precision to the team, Brontyn Emberquell serves as the backbone of competitive coverage at Jexpgames.com. With years of experience tracking meta shifts, breakdown mechanics, and tournament narratives, Brontyn dissects high-stakes esports with a sharp, calculated focus. His deep dives and strategic breakdowns provide both casual viewers and aspiring pros with the critical insights needed to understand the highest levels of competitive play.